Carving a pumpkin for the first time can feel more intimidating than expected. Sharp tools and slippery pumpkin guts make plenty of people nervous beforehand. That’s why finding genuinely easy pumpkin carving ideas for beginners matters so much this season. This post walks you through 15 designs perfect for your very first attempt. Some feel simple enough for young kids, while others suit patient adult beginners. You’ll find something here no matter how nervous you feel starting out.
Last October, I carved my very first pumpkin at nearly Twenty three years old. Somehow, I had avoided the whole tradition my entire childhood completely. I expected disaster, but a few simple tricks made the process genuinely easy. My triangle-eyed jack-o’-lantern turned out better than I ever imagined possible. That evening taught me something valuable about trying new seasonal traditions. Beginner-friendly designs exist for a reason, and they truly do work.
This list covers classic faces, simple patterns, and a few no-carve alternatives too. Each design uses basic tools and forgiving techniques perfect for first attempts. Grab a pumpkin and a few household tools, and let’s get started below. By the end, you’ll have plenty of beginner-friendly designs ready to try tonight.
Why Beginners Should Start With Simple Designs
Complicated patterns often lead to frustration during your very first carving attempt. Meanwhile, simple shapes teach you basic technique without overwhelming pressure or stress. Choosing genuinely easy pumpkin carving ideas for beginners builds confidence for more detailed designs later. Straight lines and large shapes remain far more forgiving than tiny, intricate details. Starting simple also means less risk of a pumpkin breaking apart mid-carve.
Basic Tools and Prep Every Beginner Needs
Grab a serrated knife, a large spoon, and a small paring knife first. Meanwhile, a pumpkin carving kit from the store works well too. Cut a circle around the stem at a slight angle for the lid. Scoop out all the seeds and stringy pulp completely before starting. This prep step matters just as much as the actual design itself.
1. Classic Triangle Face
Cut two triangle eyes and one triangle nose using a small knife. Add a simple jagged or straight-line mouth below them. This design remains the most recognizable, beginner-friendly jack-o’-lantern style. Meanwhile, straight lines are far easier to cut than curved shapes. This classic look works perfectly for your very first attempt.

2. Simple Silly Face
Draw one big circle eye and one small circle eye with marker first. Add a crooked smile using a wavy, uneven line. This playful design feels forgiving since mismatched features look intentional. Meanwhile, kids especially love helping design this goofy, imperfect face. It’s a great option when you want something fun and low-pressure.

3. Polka Dot Pumpkin
Use a small drill bit or apple corer to create round holes. Space the dots randomly across the entire pumpkin’s surface. This design skips detailed knife work entirely for total beginners. Meanwhile, a tea light inside creates a beautiful, glowing dot pattern. This idea remains one of the easiest techniques for nervous first-timers.

4. Star Cutout Design
Trace a simple star stencil onto your pumpkin using a marker. Carve carefully along the straight lines using a small serrated knife. Meanwhile, stars work well because they avoid tricky, curved details entirely. This design looks impressive despite requiring very little actual carving skill. It’s a great confidence-building option for someone brand new to carving.

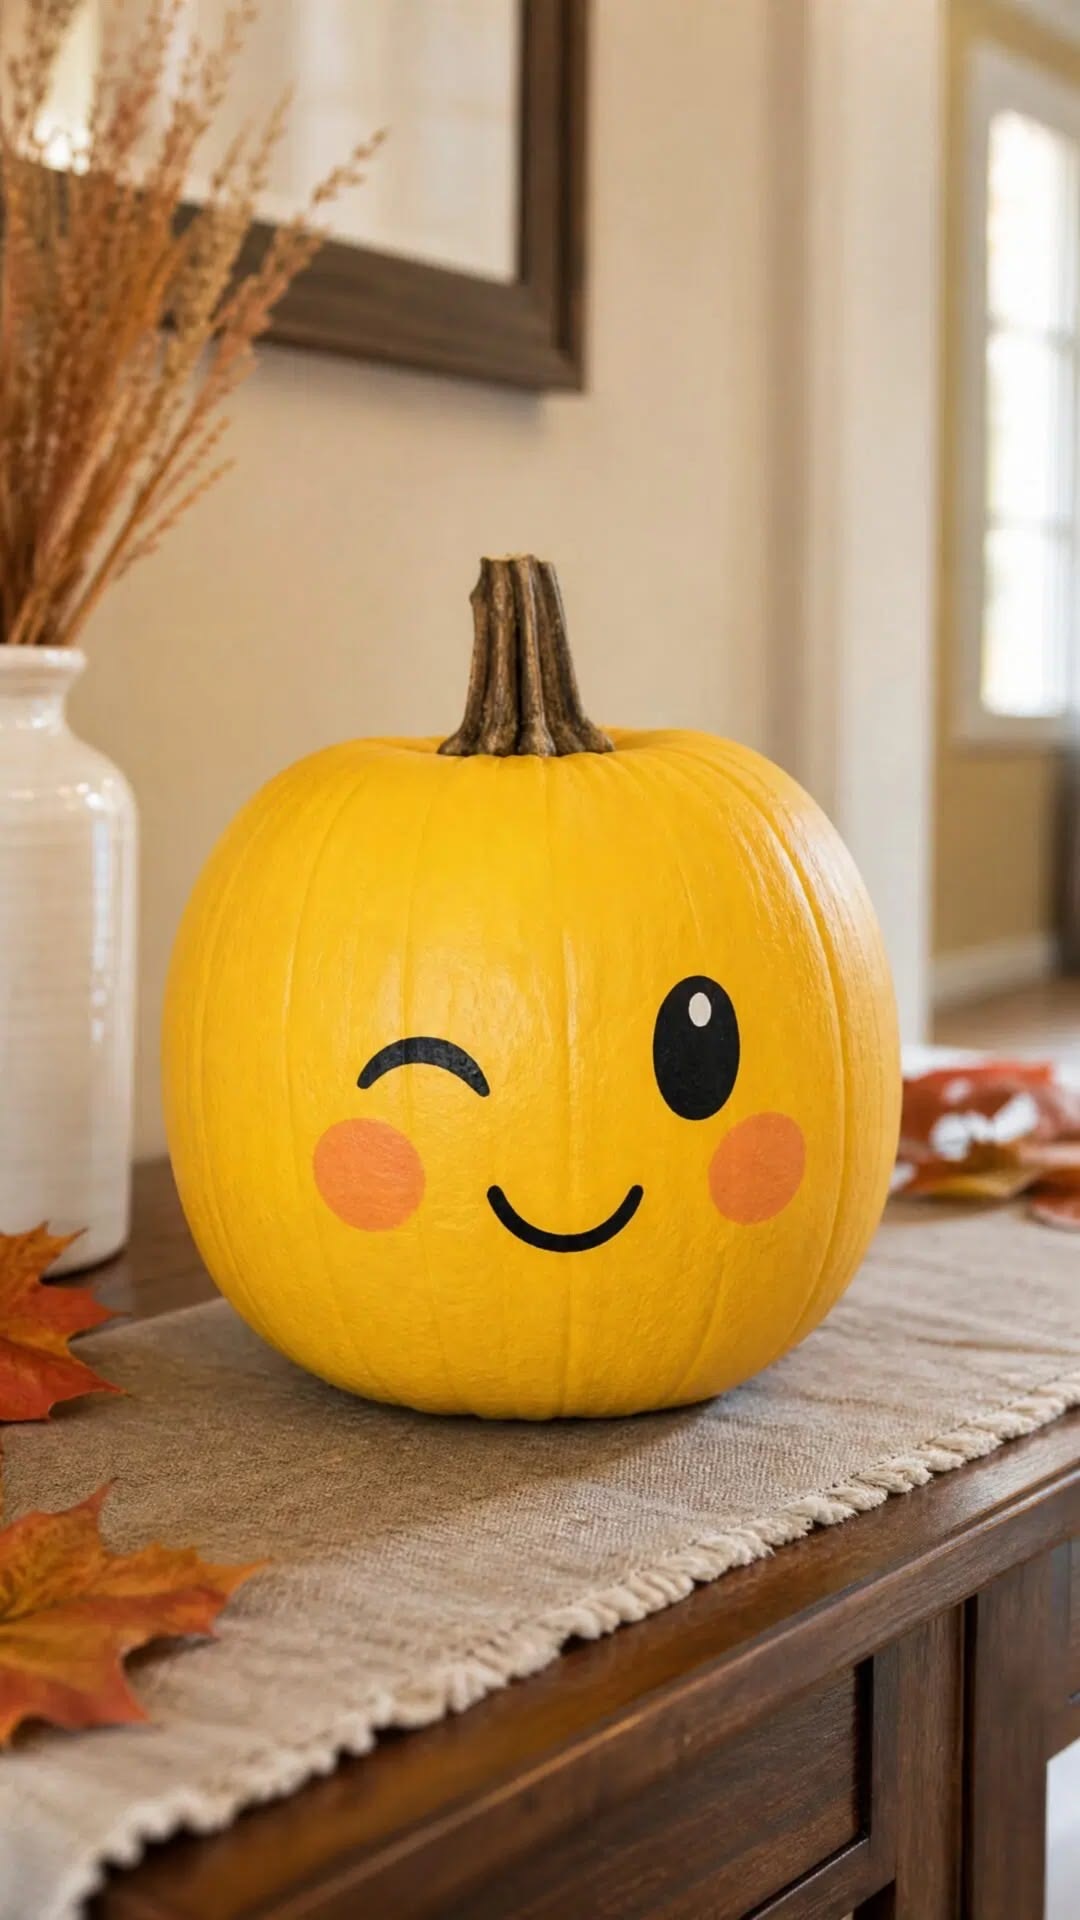
5. No-Carve Painted Pumpkin
Skip carving completely and paint your pumpkin instead using craft paint. This approach removes any risk of cutting yourself or ruining the shape. Meanwhile, painted designs last longer than carved ones without rotting quickly. It works beautifully for beginners nervous about using sharp tools at all. This idea remains genuinely foolproof for a stress-free first attempt.
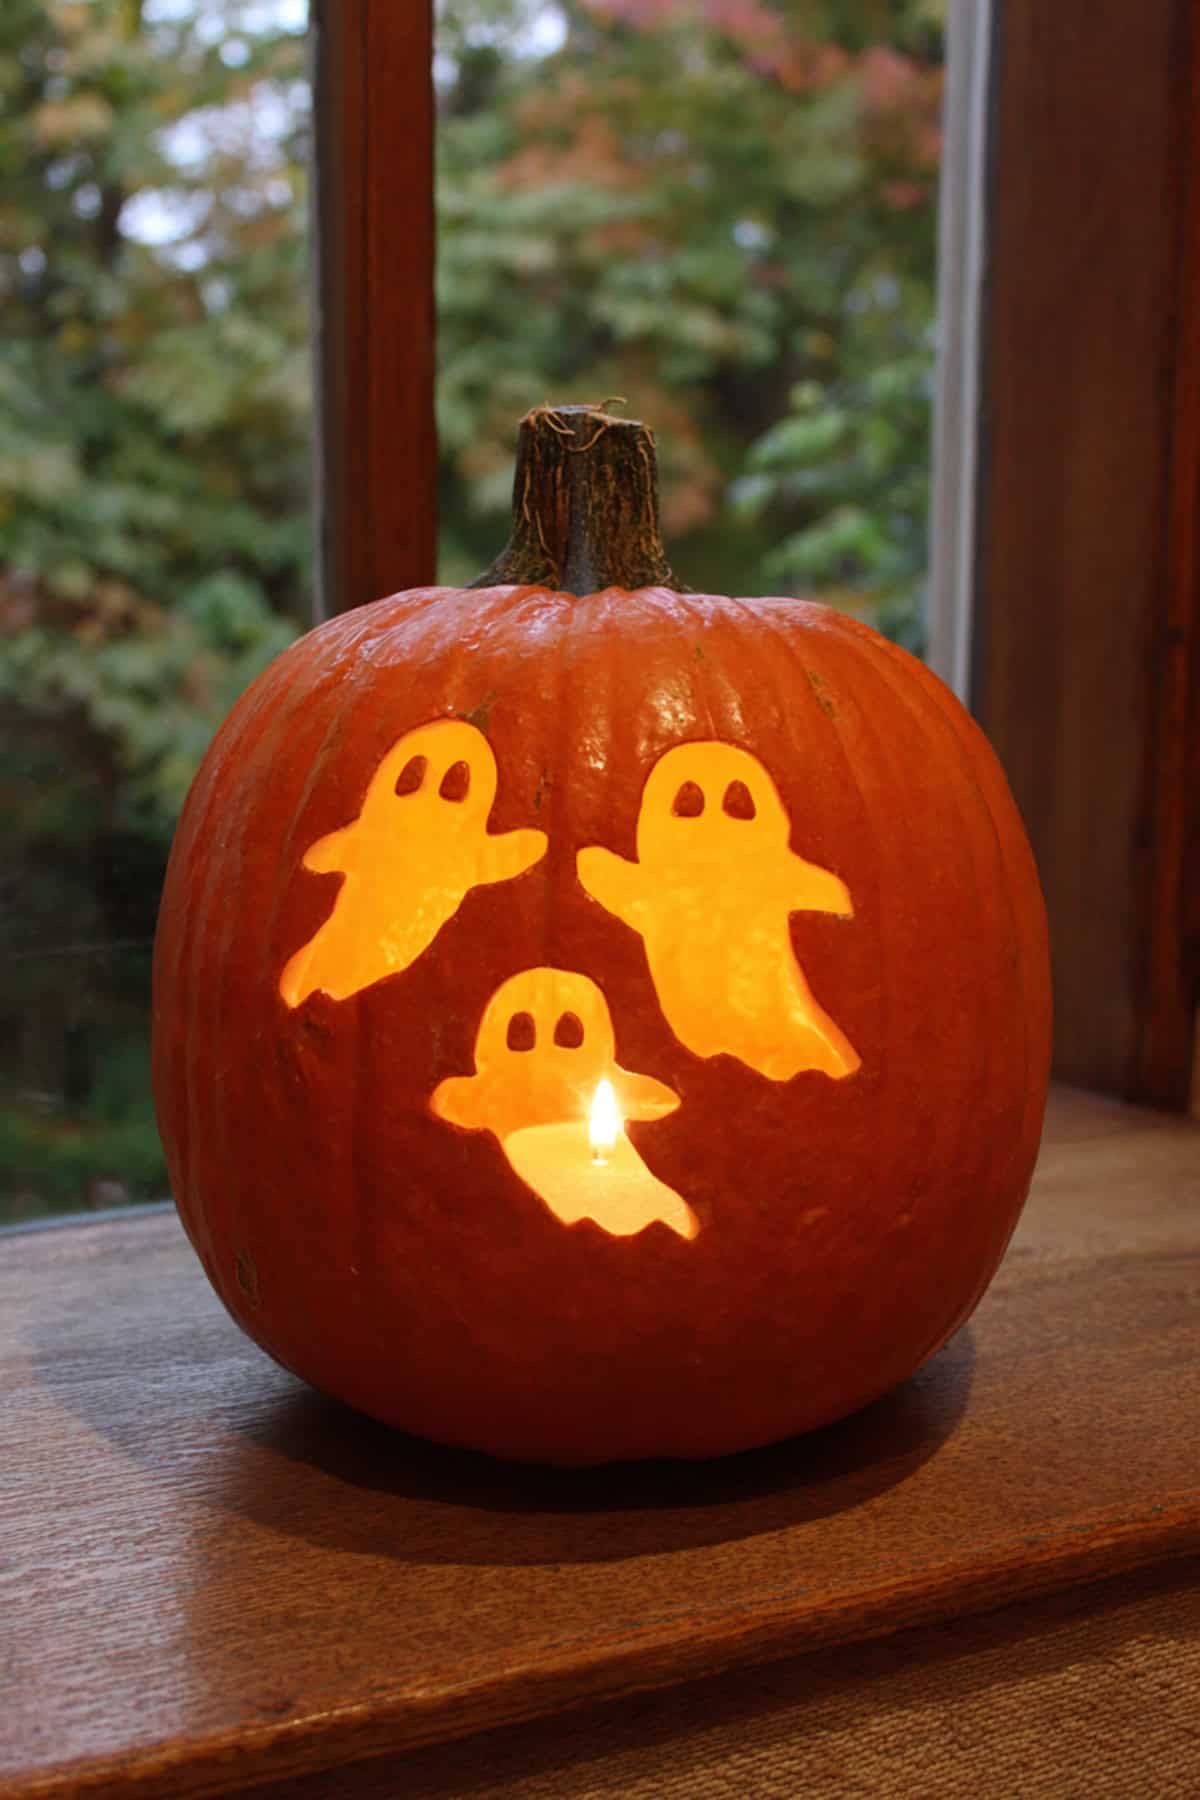
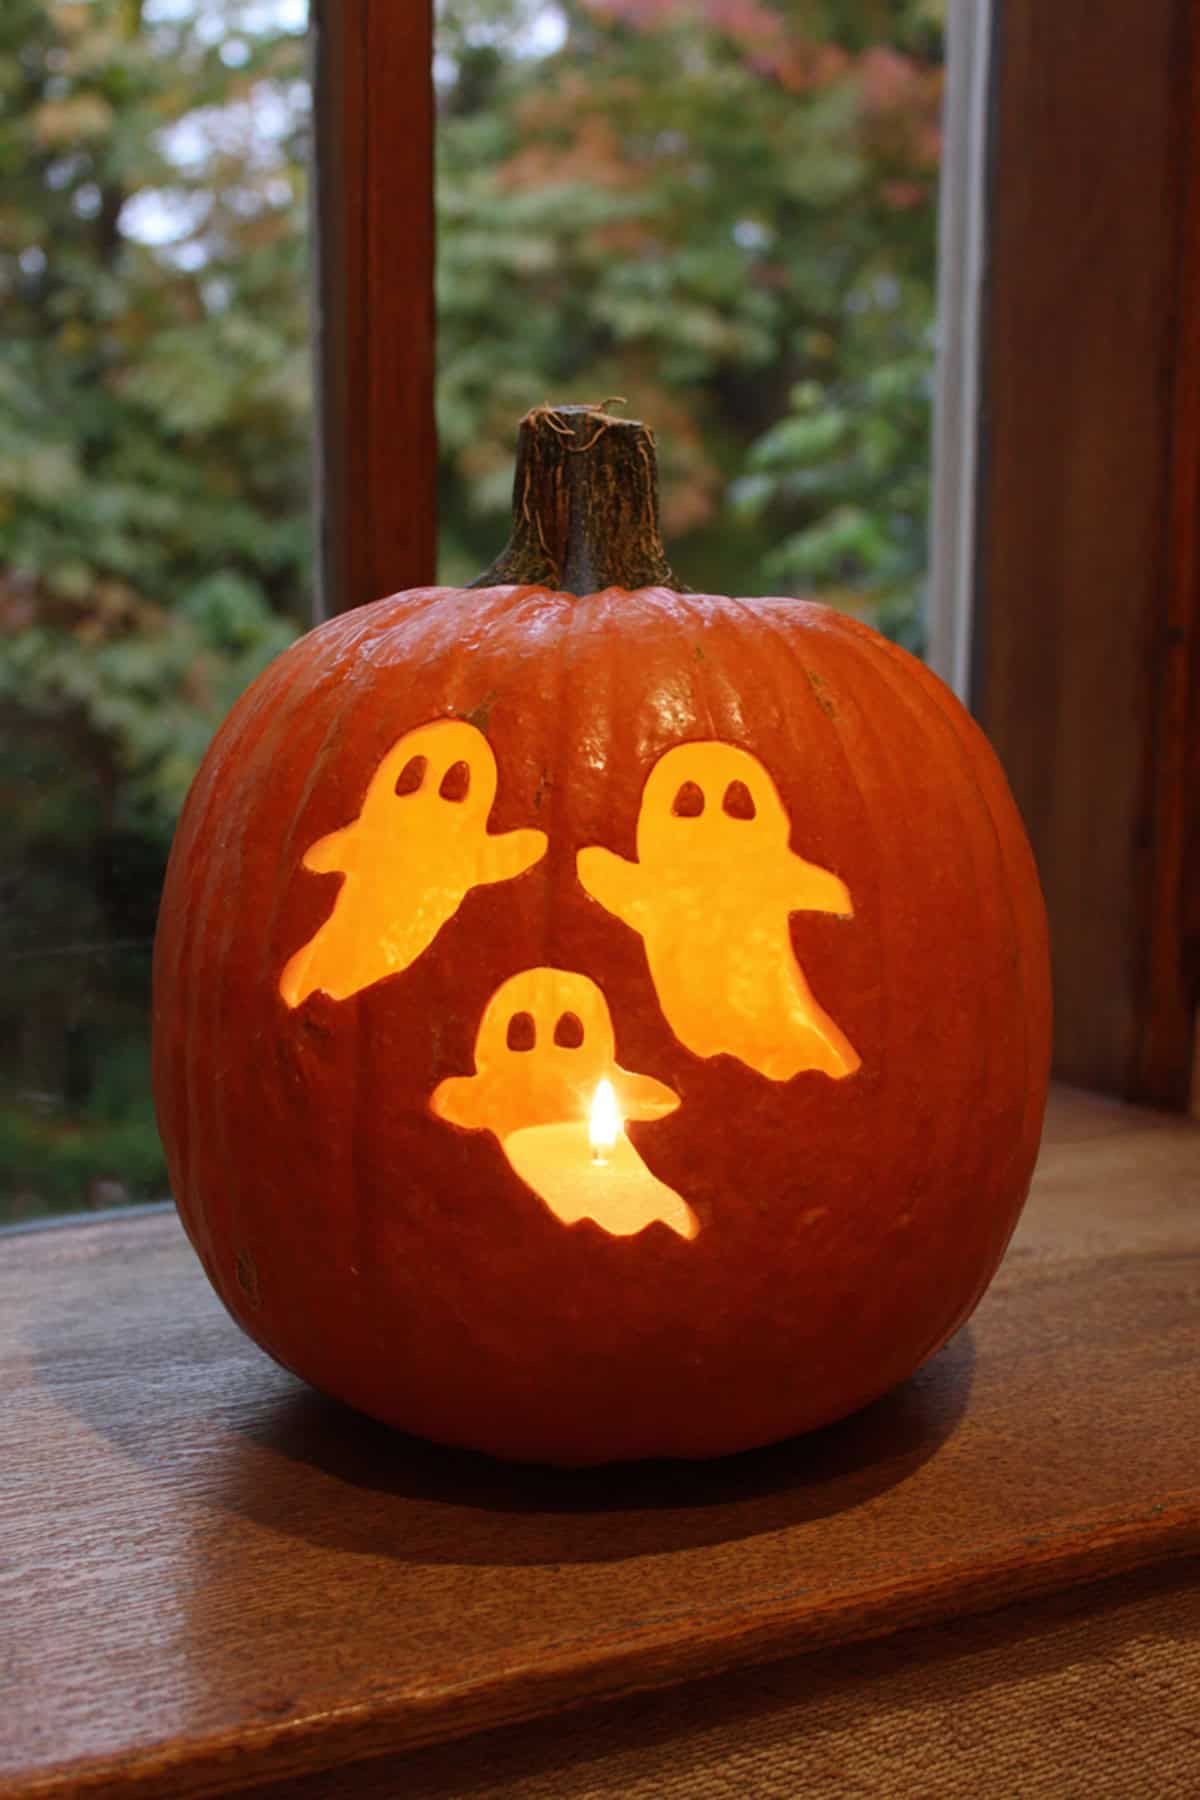
6. Simple Ghost Silhouette
Trace a basic ghost shape using a printed stencil or freehand marker. Carve out the entire shape, removing the pumpkin skin completely. Meanwhile, this design uses one large shape instead of tiny details. A tea light behind the cutout creates a soft, glowing effect. This idea works beautifully for a classic, spooky beginner design.
7. Straight-Line Cat Silhouette
Draw a simple black cat silhouette using mostly straight, angular lines. Carve carefully around the ears, tail, and basic body shape. Meanwhile, keeping the design blocky and simple avoids frustrating curved cuts. This design looks striking once lit, despite its beginner-friendly technique. It remains a popular choice for those wanting something recognizable yet easy.
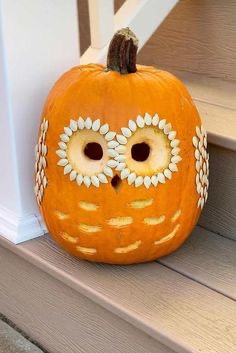
8. Owl Face Design
Cut two large circle eyes using a small paring knife carefully. Add a simple triangle beak and two pointed ear shapes above. This design feels cute and uses mostly basic circular and triangular cuts. Meanwhile, owls remain forgiving since slightly uneven shapes still look intentional. It works beautifully for beginners wanting something slightly more detailed.
9. Marker-Drawn Design, No Carving Required
Skip the knife entirely and draw a design using permanent marker instead. This approach works wonderfully for very young kids or nervous beginners. Meanwhile, marker designs can be wiped off and redone if mistakes happen. It requires zero cutting skill while still creating a genuinely cute pumpkin. This idea remains the lowest-pressure option on this entire list.
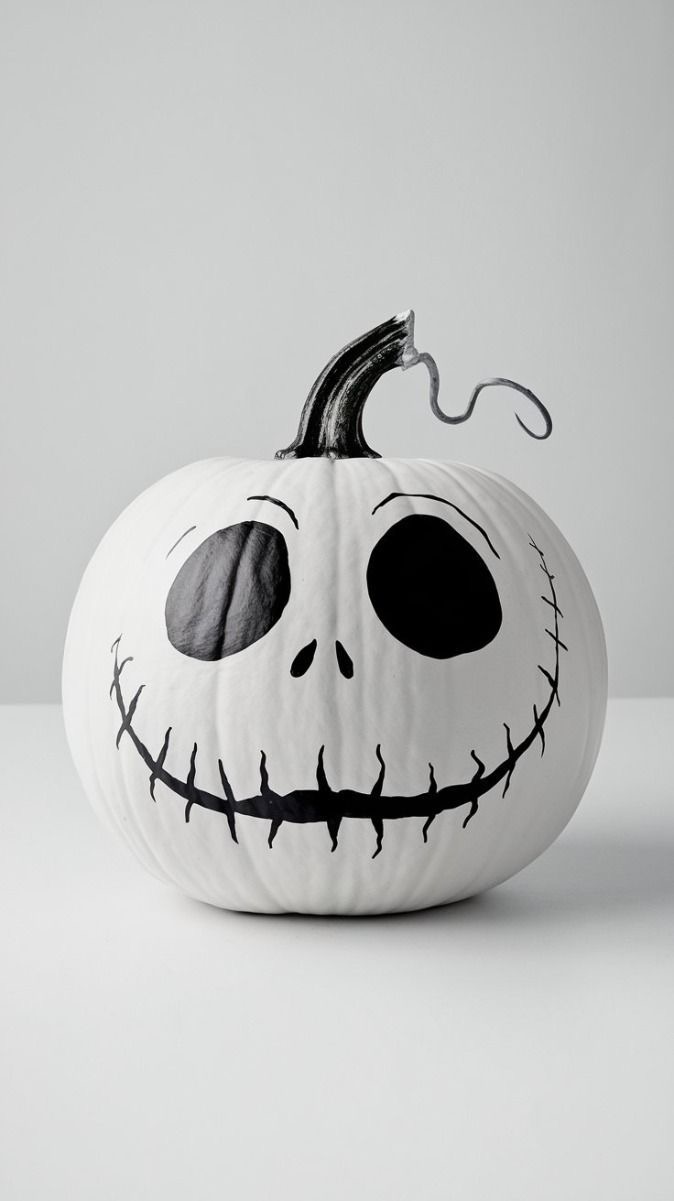
10. Simple Bat Silhouette
Trace a basic bat shape with wide, simple wings using a stencil. Carve out the entire silhouette as one connected piece carefully. Meanwhile, keeping the wings thick and simple prevents accidental breakage. This design looks dramatic once lit, despite requiring minimal actual skill. It works beautifully for a classic, spooky Halloween aesthetic.
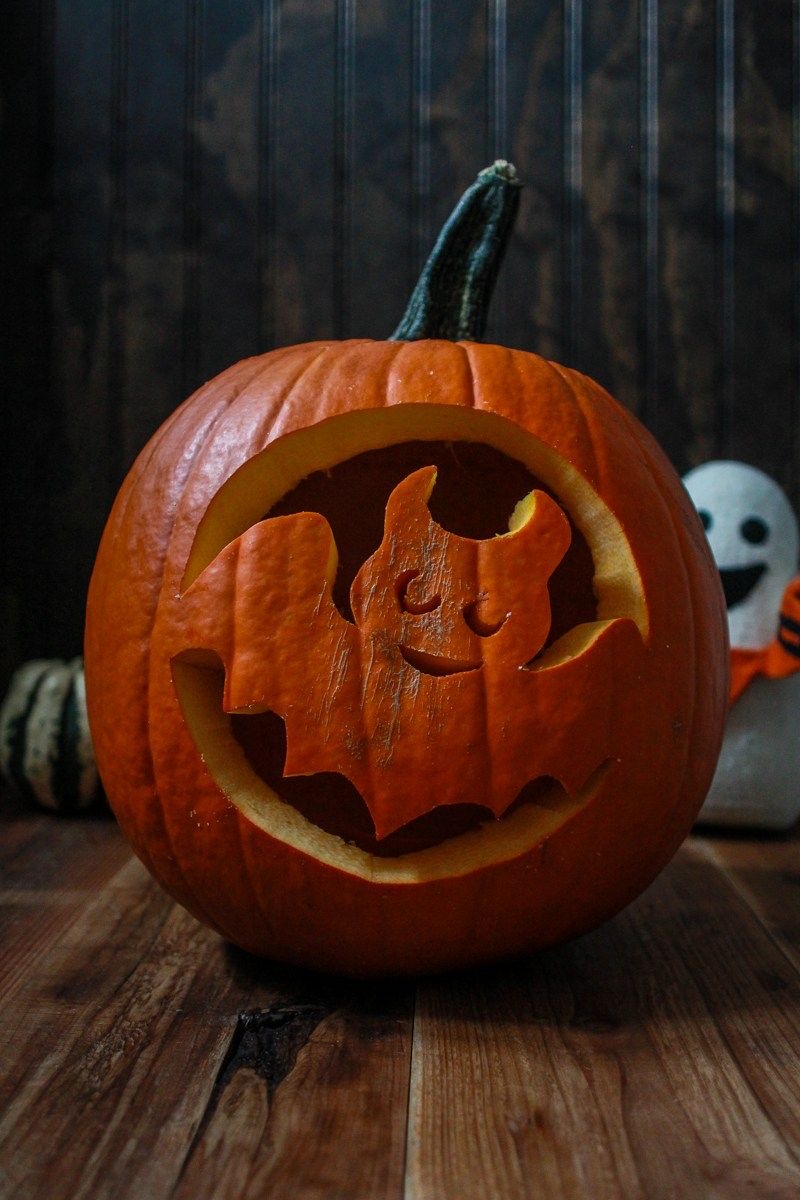
11. Checkerboard Pattern
Draw a simple grid across your pumpkin using a ruler and marker. Carve out every other square, leaving the rest of the skin intact. Meanwhile, this pattern only requires straight lines, making it genuinely beginner-friendly. The finished design looks modern and impressive despite its simple technique. This idea works well for those wanting something different than a typical face.
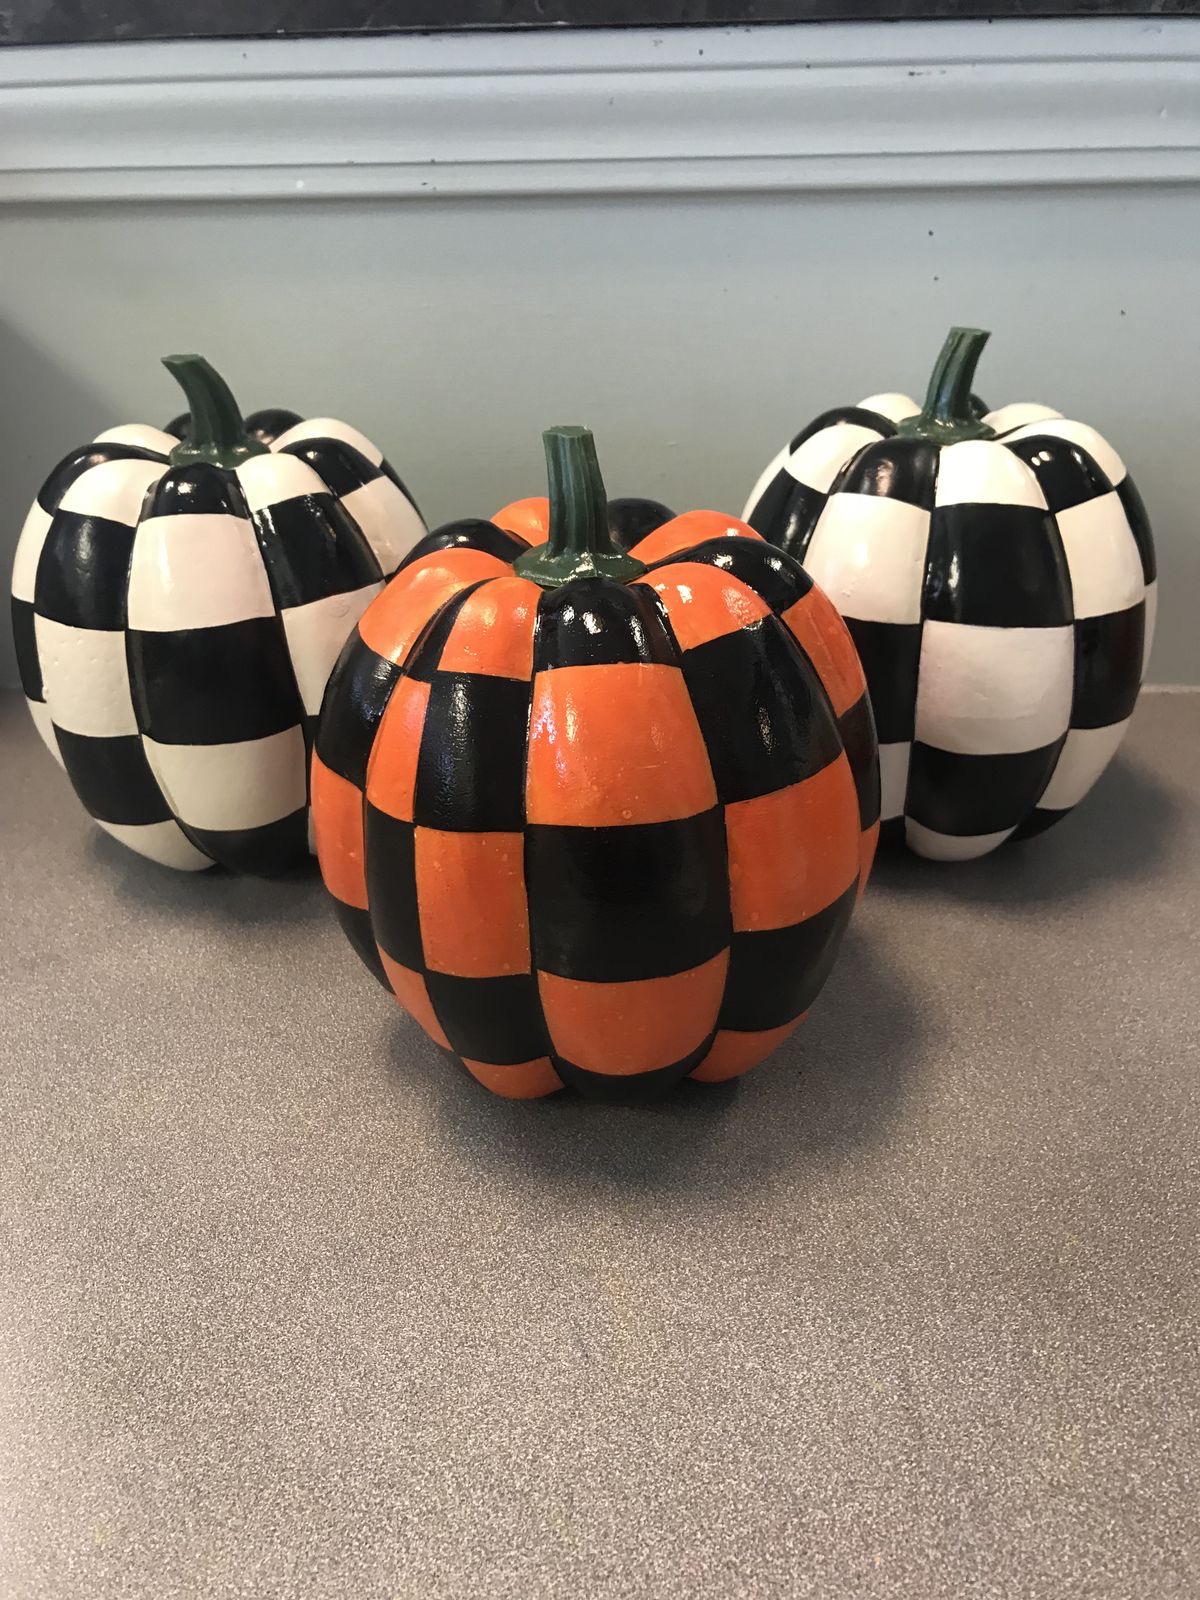
12. Simple Spider Web
Draw a basic spider web using straight lines radiating from one center point. Carve along each line carefully using a small, sharp knife. Meanwhile, this design remains forgiving since slightly uneven lines still read clearly. Add a small carved spider using simple circle and line shapes. This idea works beautifully for a classic, recognizable Halloween design.
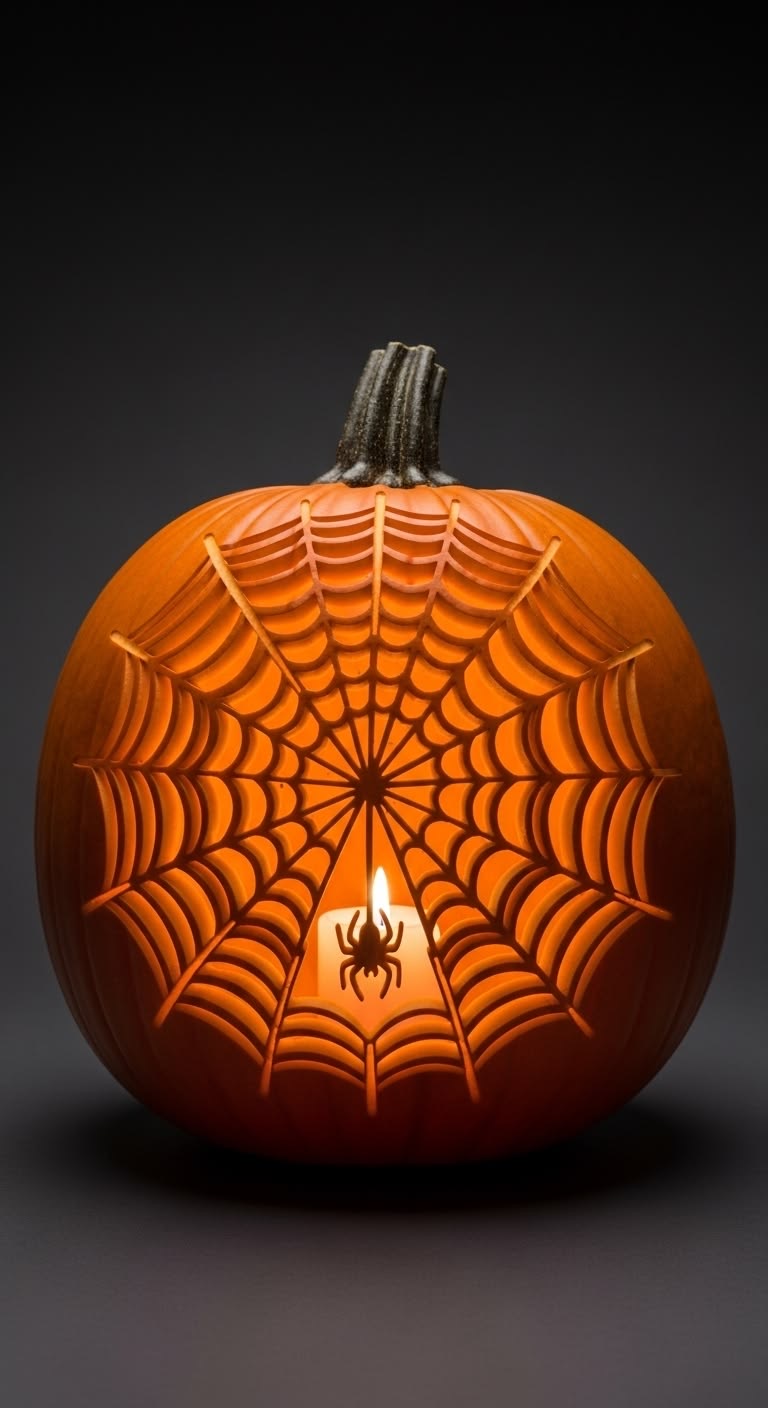
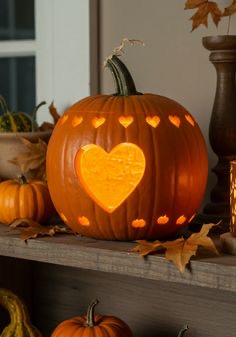
13. Heart Cutout Pumpkin
Trace one large heart shape in the center of your pumpkin. Carve out the shape completely, removing the pumpkin skin entirely. Meanwhile, one large, simple shape remains easier than several small ones. This design feels sweet and works well for a non-scary alternative. It’s a great option for those wanting something simple yet meaningful.
14. Etched Design Instead of Full Cutout
Instead of cutting all the way through, scrape away only the outer skin. This technique, called etching, reveals the lighter flesh underneath the surface. Meanwhile, etching feels more forgiving since mistakes don’t ruin the whole pumpkin. It creates a softer, glowing effect once a light is placed inside. This idea works beautifully for beginners wanting a gentler carving technique.
15. Simple Moon and Stars
Carve one basic crescent moon shape along with a few small stars. Meanwhile, keep the star shapes large and simple rather than tiny. This design feels whimsical and uses forgiving, beginner-friendly shapes throughout. It works beautifully for a softer, less traditional Halloween aesthetic. This idea remains a lovely option for a peaceful, non-scary design.
Tips for Making Your First Carving Experience Easier
Lay down newspaper or a plastic tablecloth before starting to save cleanup time. Meanwhile, choose a pumpkin with a flat bottom so it won’t roll around. Keep your knife strokes slow and controlled rather than rushed or forceful. A wet washcloth nearby helps keep your hands clean throughout the process. These small preparations make your pumpkin carving ideas for beginners feel far less intimidating overall.
Common Beginner Mistakes and How to Avoid Them
Cutting too fast often leads to jagged, uneven lines you didn’t intend. Meanwhile, using a knife that’s too large makes detailed cuts genuinely difficult. Choose a small, sharp paring knife for any detailed sections of your design. Avoid carving thin, delicate areas, since they break more easily than thick sections. These small adjustments help even first-time carvers avoid common early frustrations.
Keeping Your Carved Pumpkin Looking Fresh Longer
Rub the cut edges with a bit of petroleum jelly after carving completely. This small step helps slow down the drying and shriveling process. Meanwhile, keep your pumpkin somewhere cool and out of direct sunlight. Bringing it inside overnight also extends its fresh appearance significantly longer. These small habits help your first carved pumpkin last through the whole season.
Choosing the Right Pumpkin for Your Skill Level
Select a pumpkin with smooth, even skin and thin walls for easier cutting. Meanwhile, avoid pumpkins with lots of bumps or ridges for your first attempt. A medium-sized pumpkin offers enough space without feeling overwhelming to work with. This small choice at the store makes the entire process noticeably smoother. Beginners especially benefit from starting with a simple, cooperative pumpkin shape.
Final Thoughts
Trying pumpkin carving for the first time doesn’t need to feel intimidating. These pumpkin carving ideas for beginners offer options for every comfort level. Most designs use simple shapes and forgiving, beginner-friendly techniques throughout.
That nervous first carving attempt years ago taught me something valuable. Simple designs genuinely deliver impressive results without requiring advanced skill. Confidence comes from starting small instead of attempting something overly ambitious. Every beginner carver starts exactly where you are right now.
Pick two or three designs from this list to try first. Practice on a spare pumpkin if you want extra low-pressure practice. Some pumpkin carving ideas for beginners work better depending on your available tools. Take your time, and don’t worry about achieving total perfection. Enjoy the process, and have fun with your very first carved pumpkin.
Leave a Reply