In this post, you’ll find simple ideas for creating a Christmas wrapping station at home that keeps your wrapping paper, ribbons, gift tags, scissors, tape, and other supplies organized and easy to reach. Instead of pulling everything out every time you need to wrap a gift, you can create one dedicated space where everything has a place.
A Christmas wrapping station doesn’t have to take up an entire room. You can set one up on a small desk, inside a closet, on a shelf, in a corner of your bedroom, or even on a folding table that you put away when you’re finished. The most important thing is choosing a space that gives you enough room to work comfortably.
I’m sharing practical storage ideas as well as a few ways to make your wrapping station look festive and match your Christmas decor. You can use containers you already own, repurpose household items, and organize your supplies based on how often you use them.
Whether you wrap a few presents or have a long Christmas gift list, having a dedicated wrapping area can make the process faster, less messy, and much more enjoyable.
1. Choose a Dedicated Wrapping Space
Start by choosing the area where you want your Christmas wrapping station to live.
A spare desk, craft table, kitchen counter, closet shelf, or unused corner can work. If you don’t have much space, consider a portable station that can be packed away after Christmas.
Choose somewhere close to good lighting and a comfortable working surface if possible.

2. Take Inventory of Your Wrapping Supplies
Before buying storage containers, gather all of your Christmas wrapping supplies together.
Collect your wrapping paper, gift bags, tissue paper, ribbons, bows, scissors, tape, gift tags, markers, stickers, and boxes.
This gives you a better idea of how much you actually own and prevents you from purchasing supplies you already have.
3. Store Wrapping Paper Vertically
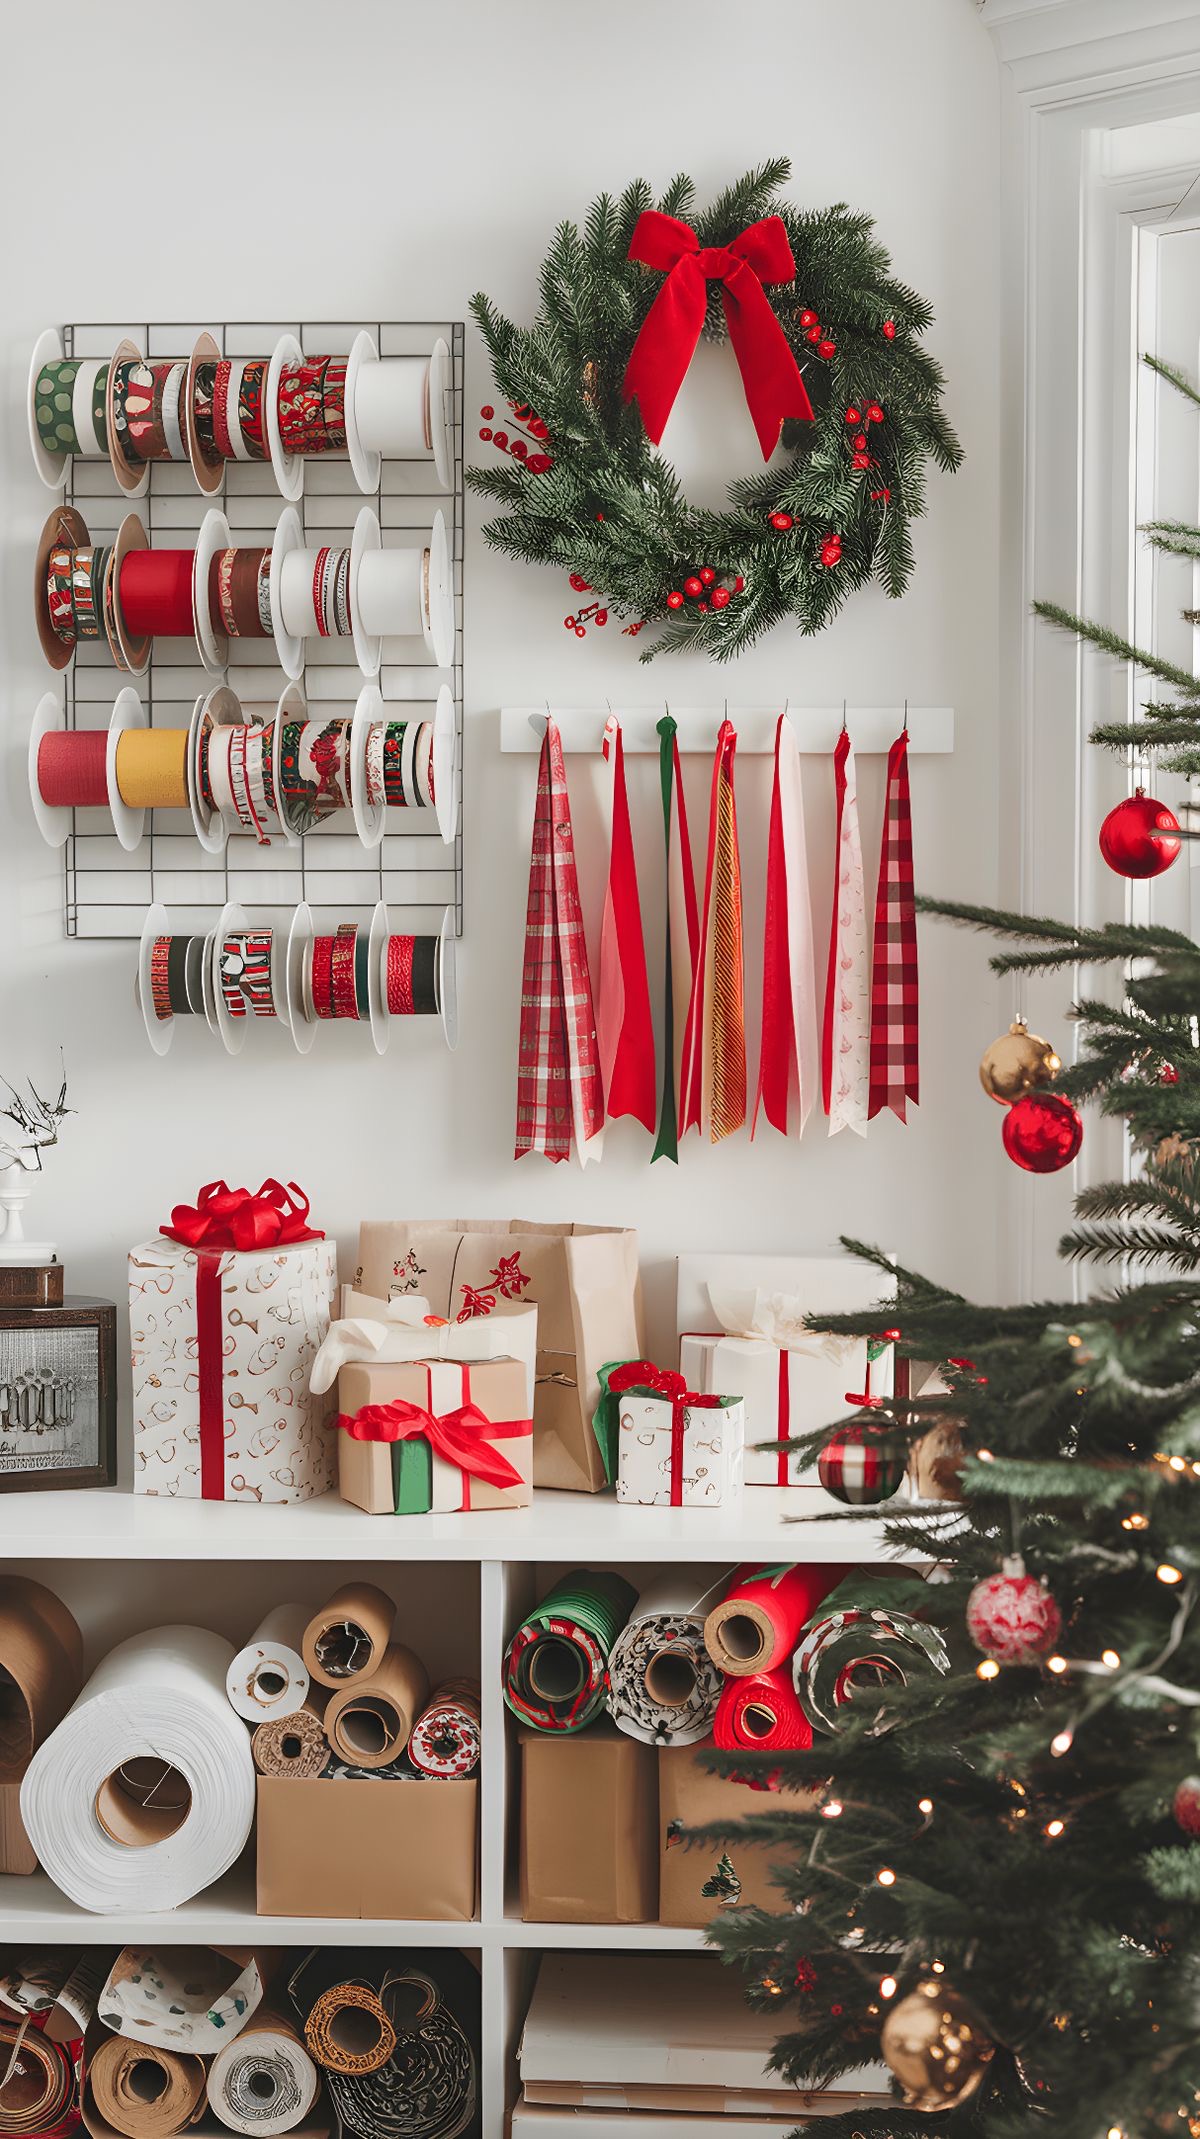
Wrapping paper rolls can quickly become difficult to manage when they’re left lying around.
Store them vertically in a tall basket, storage bin, laundry hamper, or another tall container.
Keeping the rolls upright makes it easier to see what you have and prevents them from rolling around the room.
4. Use a Hanging Organizer for Small Supplies
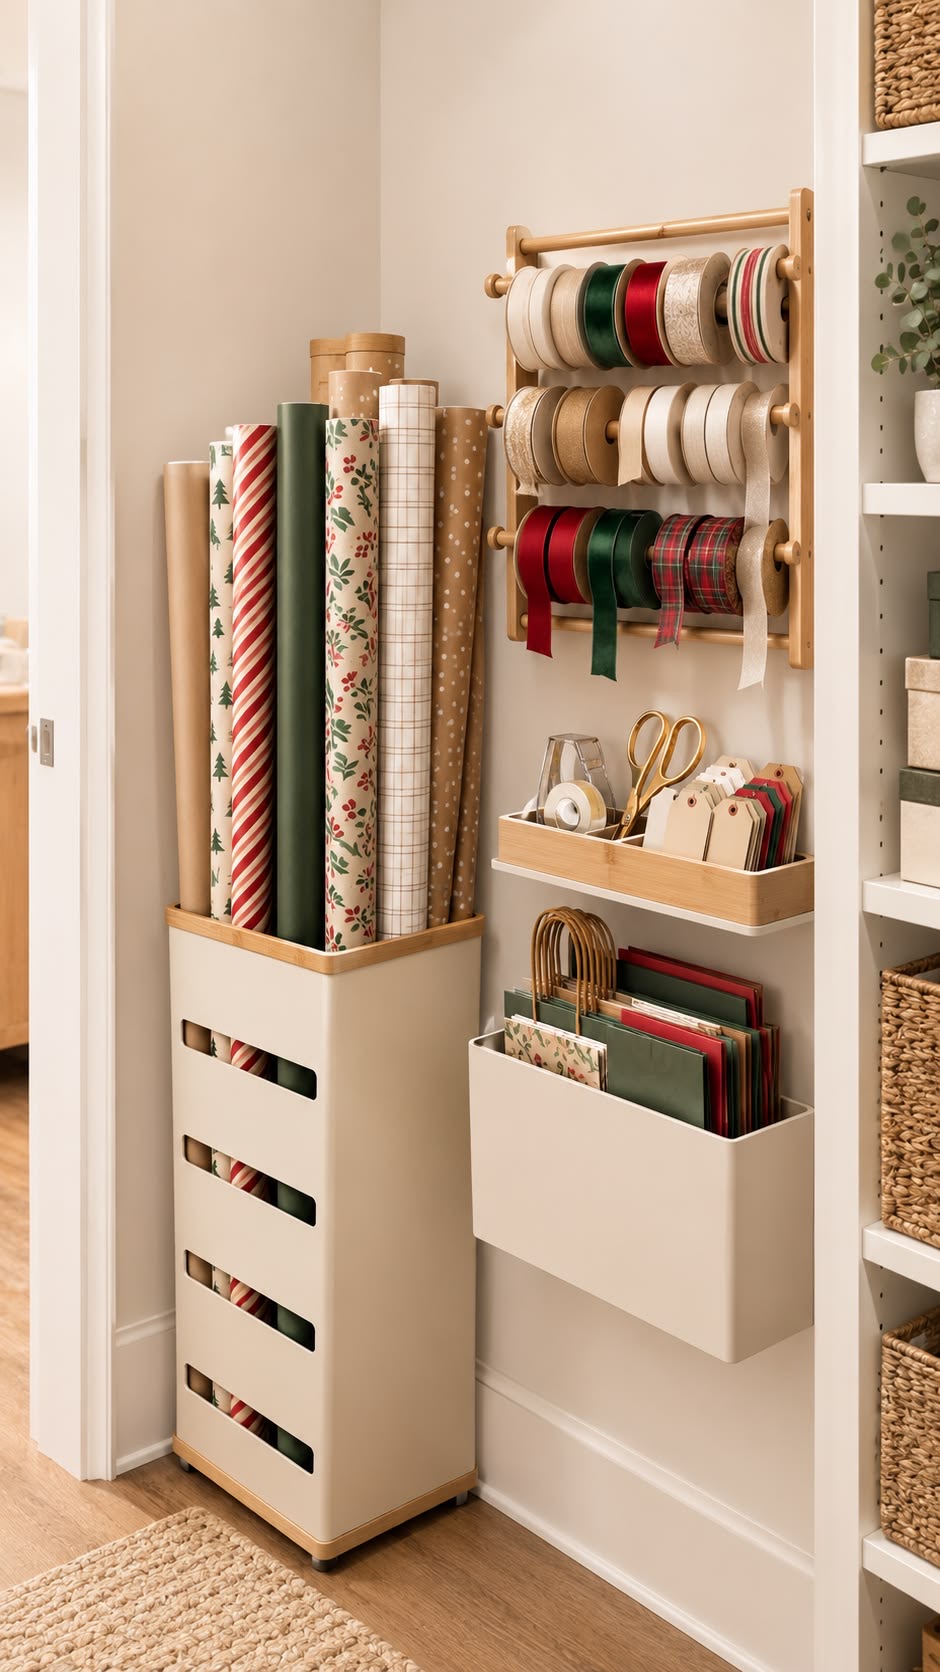
A hanging organizer with multiple pockets can be useful for storing smaller wrapping supplies.
Use the pockets for scissors, tape, ribbon, gift tags, markers, bows, stickers, and other little items that are easy to lose.
You can hang the organizer on a closet door or wall near your wrapping area.
5. Create a Ribbon Storage System
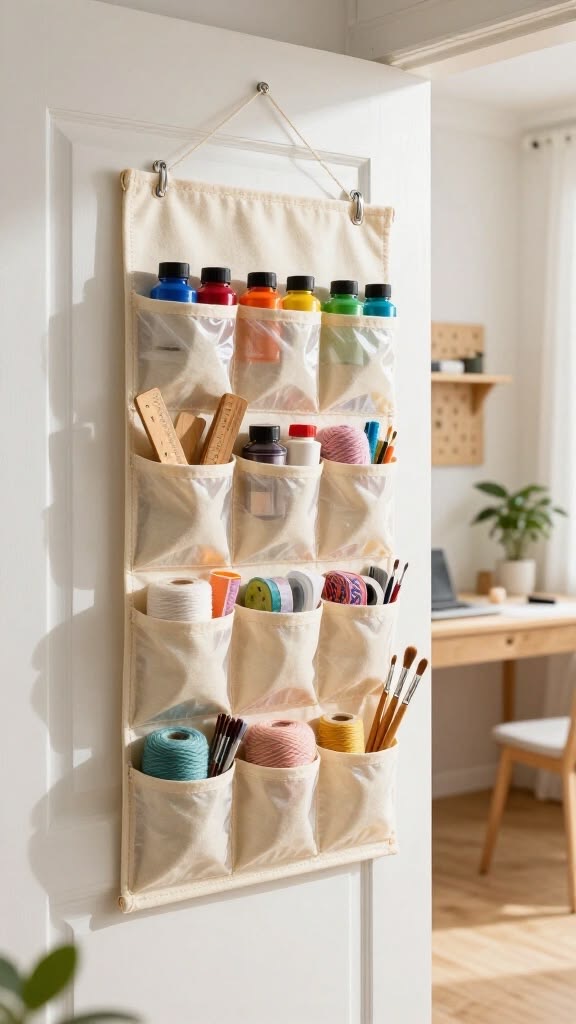
Ribbon can quickly become tangled if it isn’t stored properly.
Keep individual ribbon rolls together in a basket, box, drawer, or container. If you have many different colors and patterns, group similar ribbons together.
You can also use a rod or dowel system that allows you to pull ribbon directly from the roll while wrapping.
6. Keep Scissors and Tape Within Reach
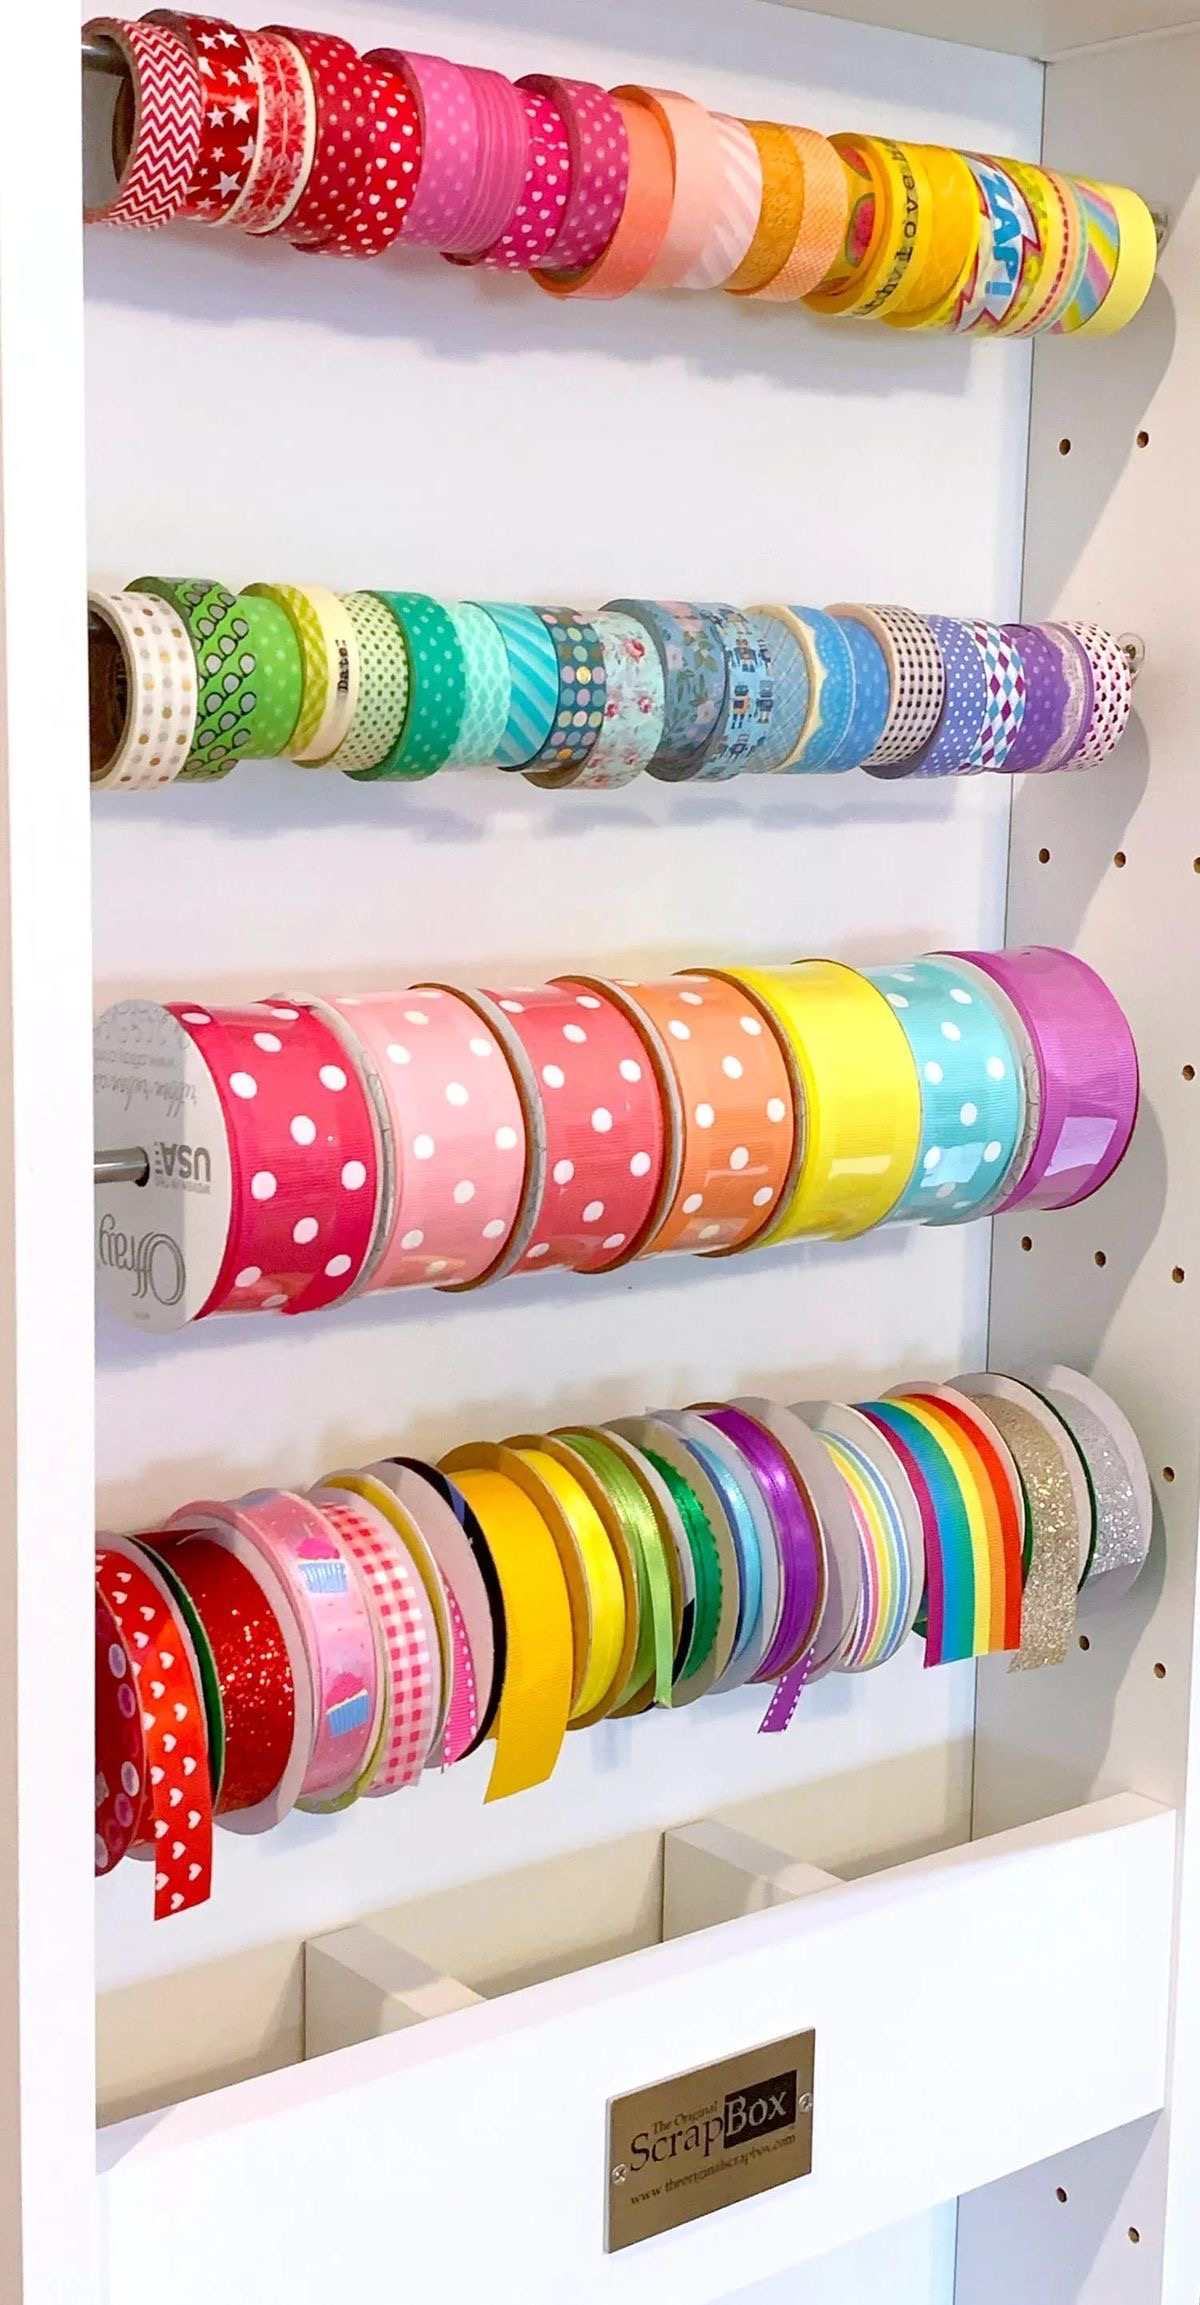
The supplies you use constantly should be the easiest to grab.
Place scissors and tape in a small container directly beside your wrapping surface.
You won’t have to keep stopping to search for them, which makes wrapping multiple gifts much faster.
7. Use Clear Containers
Clear containers are especially useful for wrapping supplies because you can see what’s inside without opening every box.
Use them for gift tags, bows, stickers, tape, ribbon, tissue paper, and other small accessories.
Label the containers if you want an even more organized setup.
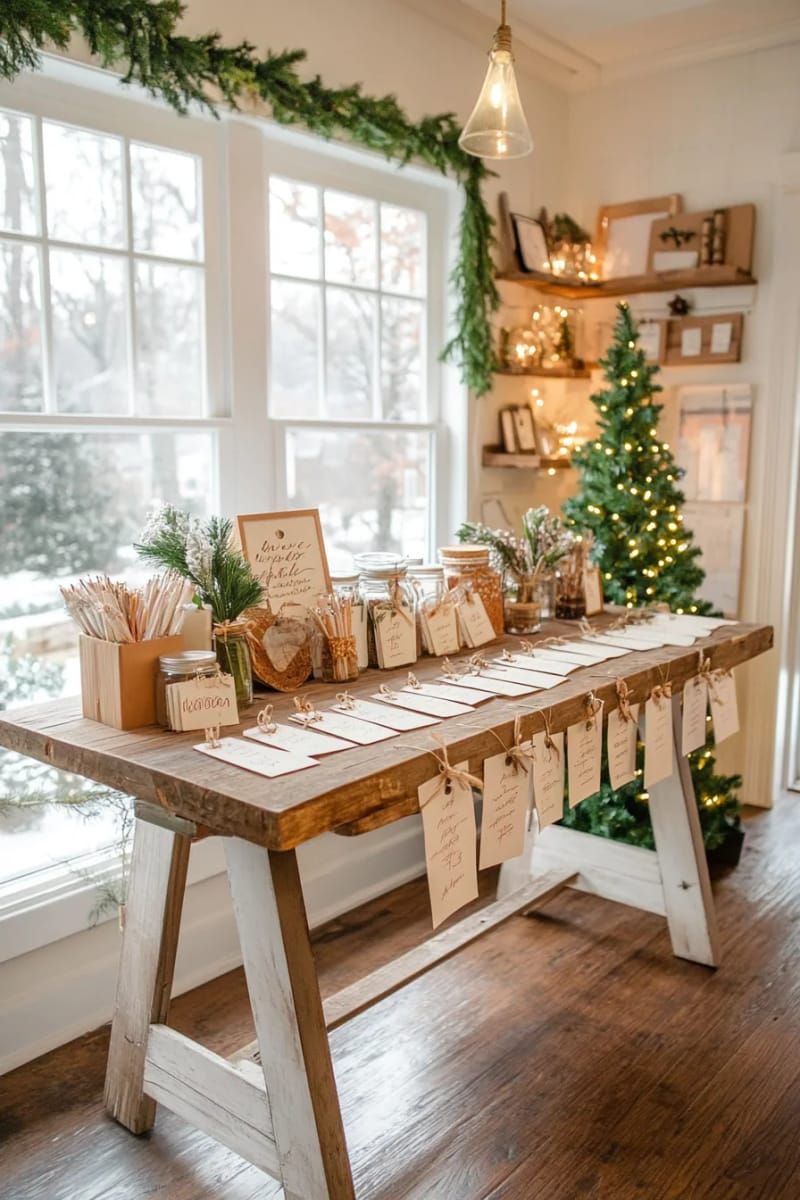
8. Create a Gift Tag Station
Keep all your gift tags in one dedicated container.
You can use a small box, jar, tray, or divided organizer.
Separate tags by style, recipient, or color if you have a large collection. Keep pens and markers nearby so you can write names without searching for them.
9. Set Up a Gift Bag Section
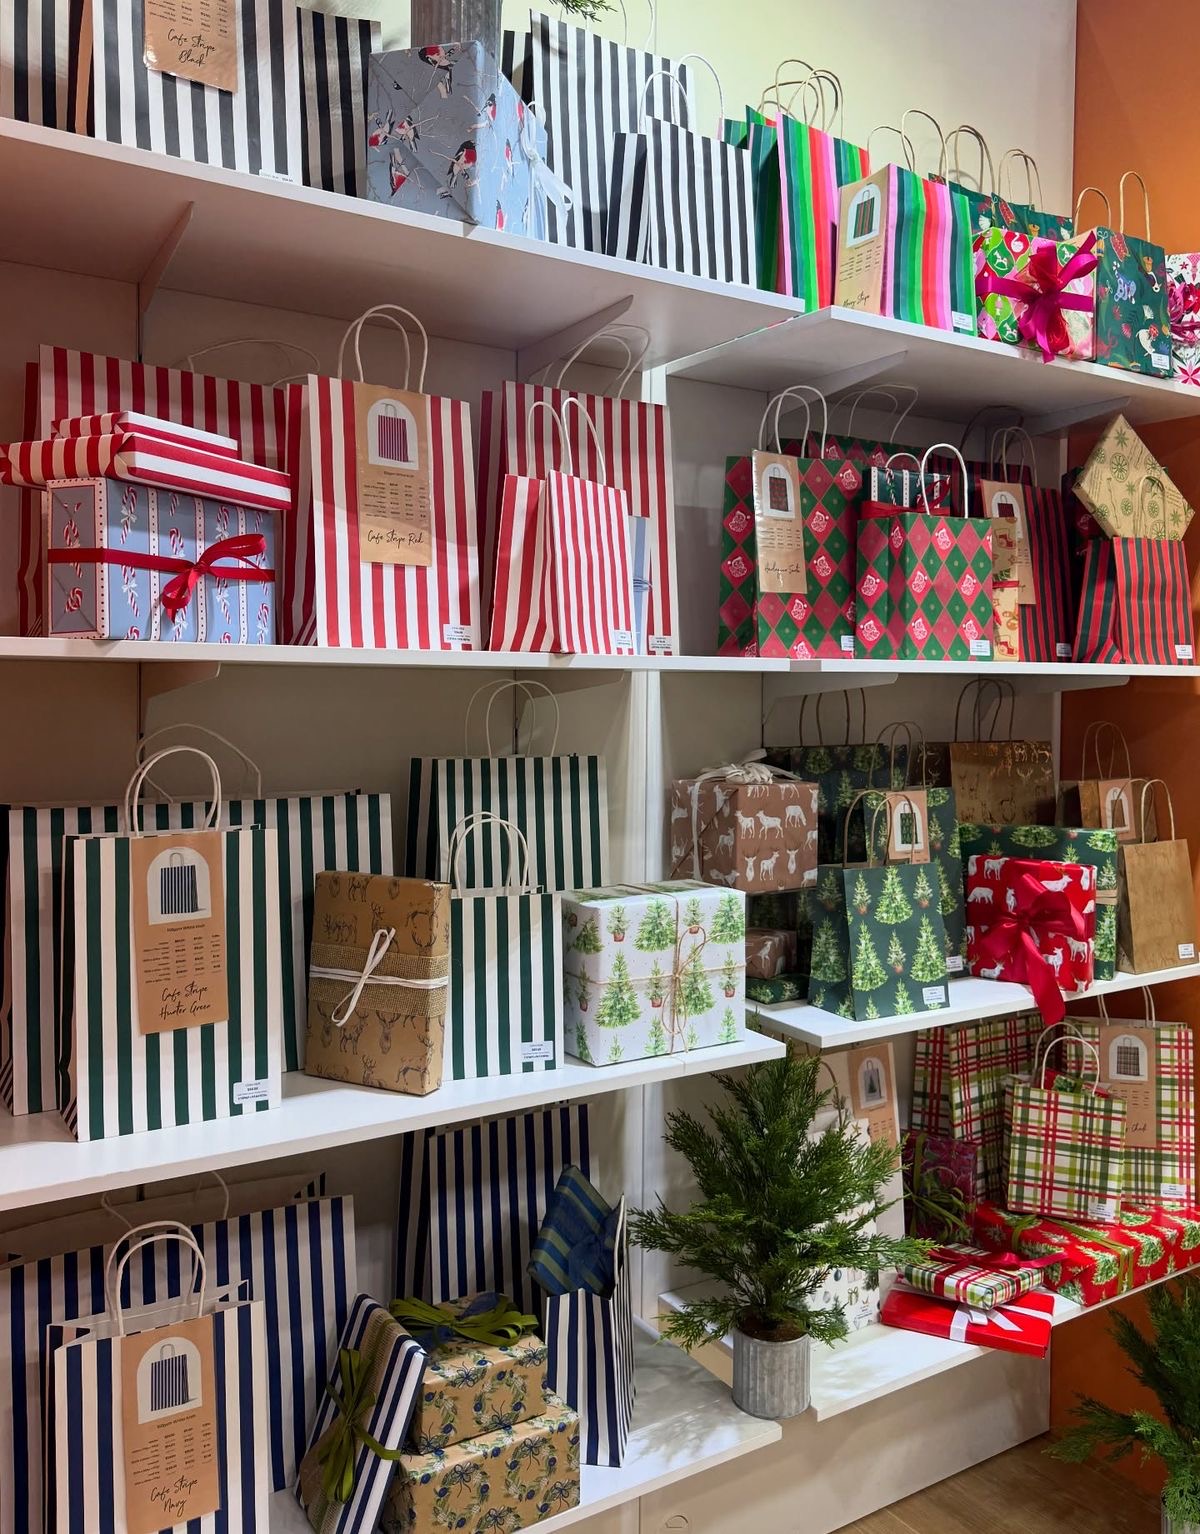
Gift bags are easier to organize when they aren’t mixed in with wrapping paper.
Place them together in a large basket, storage bin, or shelf.
If you have different sizes, arrange them from smallest to largest so you can quickly find the right bag.
10. Organize Tissue Paper by Color
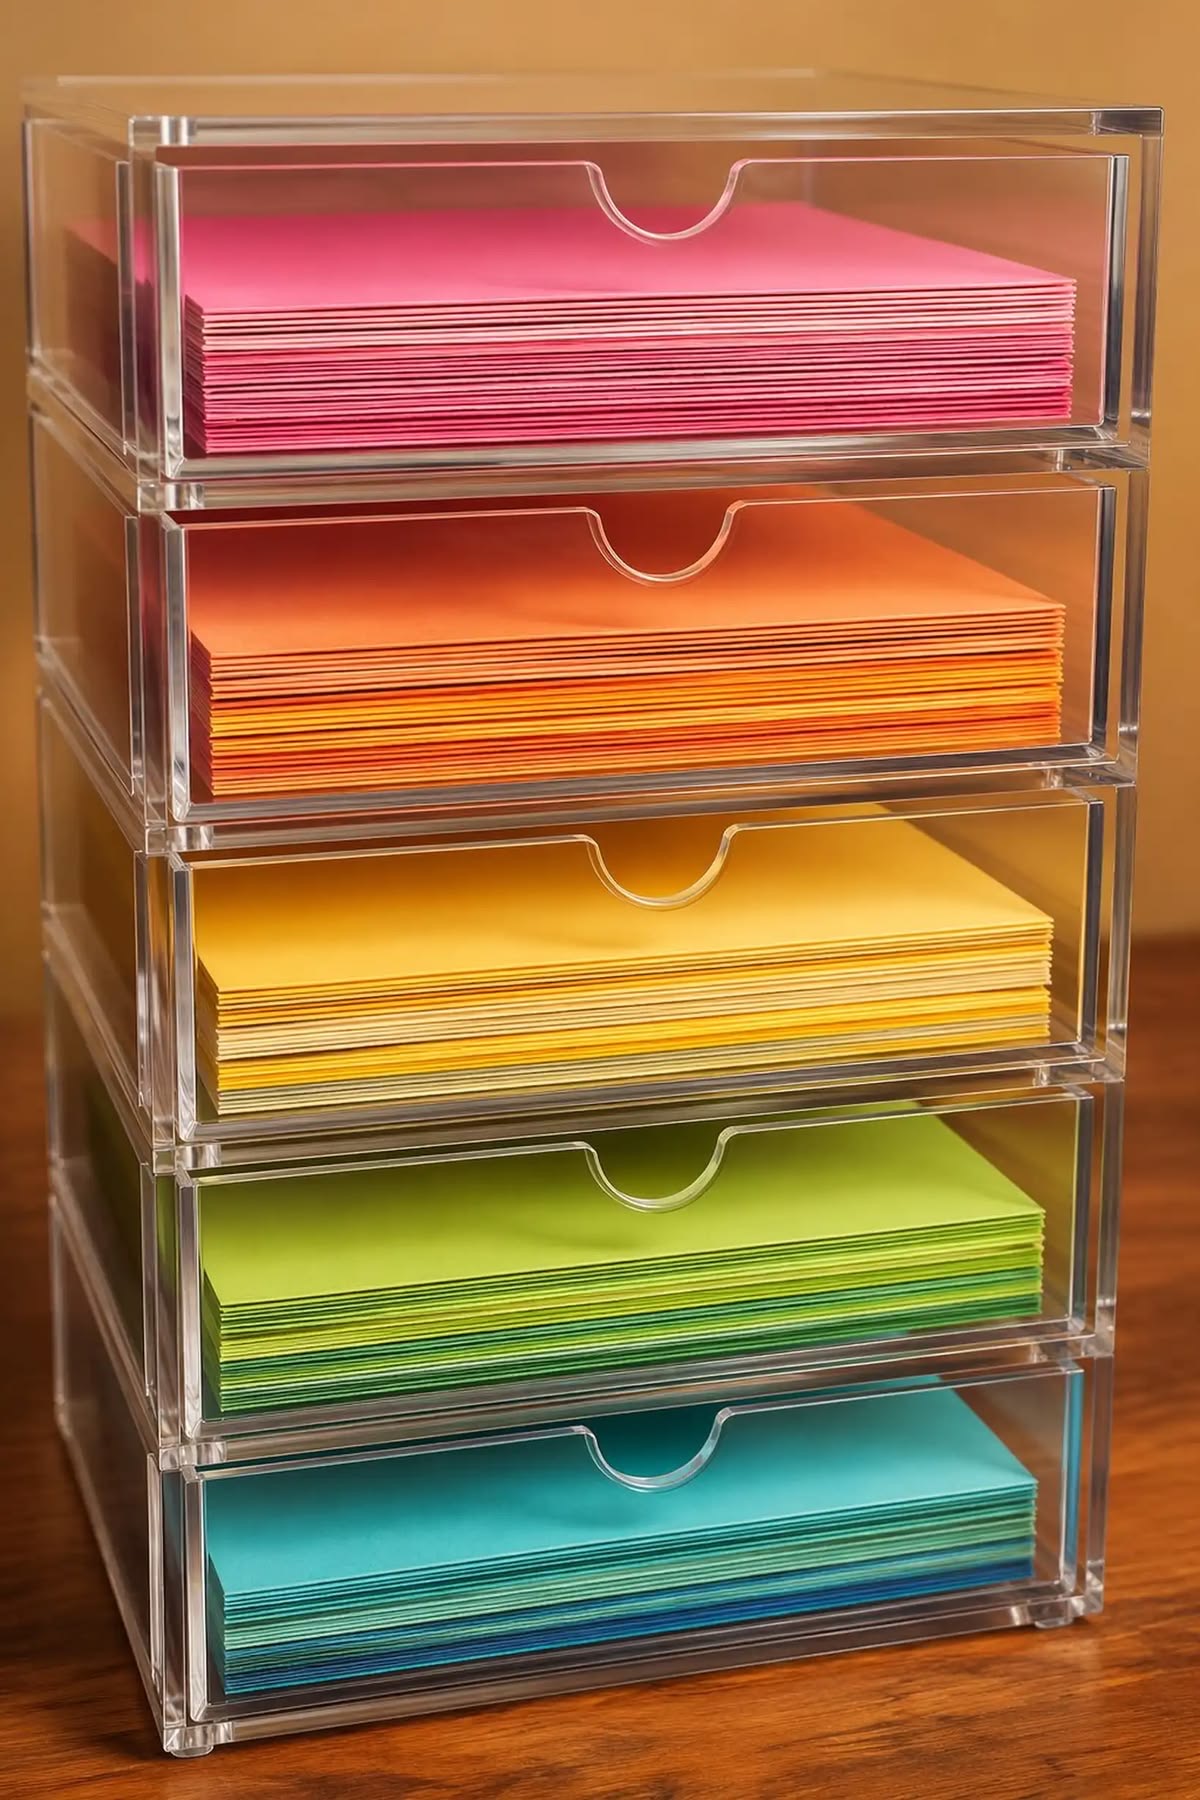
Tissue paper can become wrinkled and messy when it is stuffed into a drawer.
Fold it carefully and store it upright in a container or file organizer.
You can organize it by color so it’s easy to coordinate tissue paper with your gift bags and wrapping paper.
11. Keep Gift Boxes Together
If you have reusable gift boxes, give them their own storage area.
Stack smaller boxes inside larger ones whenever possible.
Keep box lids together with their matching bases so you’re not searching for the right pieces when you’re ready to wrap.
12. Add a Small Trash Bin
A wrapping station isn’t complete without somewhere to put scraps.
Place a small trash bin or reusable bag next to your workspace.
You can immediately throw away scraps of tape, paper pieces, damaged ribbon, and other waste instead of allowing them to pile up around your wrapping area.
13. Create a Wrapping Supply Cart
A rolling cart is a great option if you don’t have a permanent space for your wrapping supplies.
Use each level for a different category. For example, the top can hold scissors and tape, the middle can hold ribbons and gift tags, and the bottom can hold bags and tissue paper.
When you’re ready to wrap gifts, simply move the cart wherever you need it.
14. Add Labels to Your Storage
Labels make it much easier to find what you need.
You can label containers with simple categories such as:
* Wrapping paper
* Ribbon
* Gift tags
* Tape
* Gift bags
* Tissue paper
* Bows
* Boxes
If other family members use the wrapping station, labels also make it easier for everyone to put things back where they belong.
15. Create a Small Wrapping Tool Kit
Keep your most-used tools together in one small container.
Your kit could include scissors, clear tape, double-sided tape, a ruler, markers, a pen, and a hole punch.
Having everything together means you can grab one container and start wrapping instead of collecting supplies from different rooms.
16. Use a Large Flat Surface for Wrapping
Your wrapping station should have enough room to comfortably lay out a gift and cut paper.
A desk, dining table, craft table, or folding table can work well.
If your station is in a small area, choose a folding surface that can be stored away after the holidays.
17. Add a Comfortable Chair
If you’re wrapping several gifts at once, comfort matters.
Choose a chair that allows you to sit comfortably while working. Make sure the table or surface is at a comfortable height so you’re not constantly bending over.
A comfortable setup can make wrapping dozens of presents feel much less tiring.
18. Make the Station Match Your Christmas Decor
Your wrapping station doesn’t have to look like a storage area.
Choose storage baskets, containers, or boxes that coordinate with your Christmas decor.
You could use a simple color palette such as red and green, gold and white, silver and blue, or neutral tones.
Even a small Christmas sign or festive ribbon can make the area feel more seasonal.
19. Keep a Gift-Wrapping Checklist Nearby
If you have a large Christmas shopping list, keep a checklist near your wrapping station.
Write down each person’s name and check them off as their gifts are wrapped.
You can also note whether each gift needs wrapping paper, a gift bag, a box, or a special tag.
This helps prevent forgotten presents and makes it easier to keep track of everything.
20. Store the Entire Station Together After Christmas
When Christmas is over, make cleanup easier by storing your supplies together.
Remove any empty containers, recycle usable paper scraps, untangle ribbons, and group your remaining supplies.
Place everything into clearly labeled storage bins and keep the bins together.
Next Christmas, you’ll already have a complete wrapping station ready to set up.
How to Create a Christmas Wrapping Station in a Small Space
You don’t need a large room to create an organized wrapping area.
Use vertical storage whenever possible. A narrow shelf, hanging organizer, rolling cart, or over-the-door storage system can hold many supplies without taking up much floor space.
You can also create a portable wrapping station inside one large storage container. Put your tape, scissors, ribbons, tags, and other small supplies inside, then keep your wrapping paper rolls separately.
When it’s time to wrap presents, simply bring everything to the table.
What to Keep in Your Christmas Wrapping Station
A well-stocked wrapping station can include:
* Wrapping paper
* Gift bags
* Tissue paper
* Gift boxes
* Gift tags
* Ribbon
* Bows
* Scissors
* Tape
* Double-sided tape
* Markers
* Pens
* Stickers
* Hole punch
* Ruler
* Storage containers
* Small trash bin
You don’t need to buy everything at once. Start with the supplies you already have and add storage solutions based on what you actually need.
Final Thoughts
Creating a Christmas wrapping station at home can make holiday gift wrapping much easier and less stressful. Instead of searching through drawers and closets for scissors, tape, ribbon, and gift tags, you’ll have everything organized in one convenient place.
The best wrapping station is one that fits your home and your wrapping habits. It can be a dedicated craft table, a rolling cart, a closet shelf, or even one portable storage bin.
Keep your most-used supplies within reach, organize everything into clear categories, and make the space comfortable enough to actually enjoy using. Once Christmas is over, pack everything together so you’re ready to go again next year.
Leave a Reply